Categories
My Blog

Why Hydrangeas Change Color and What Gardeners Can Do About It

Hydrangeas are a popular choice for many gardeners. Their large blooms and rich colors add beauty to any garden. However, hydrangeas often change color. Sometimes, the change is desirable, while other times, it is not. This guide explains why hydrangeas change color and what gardeners can do to manage it.
Hydrangea Colors

The Science Behind Hydrangea Color

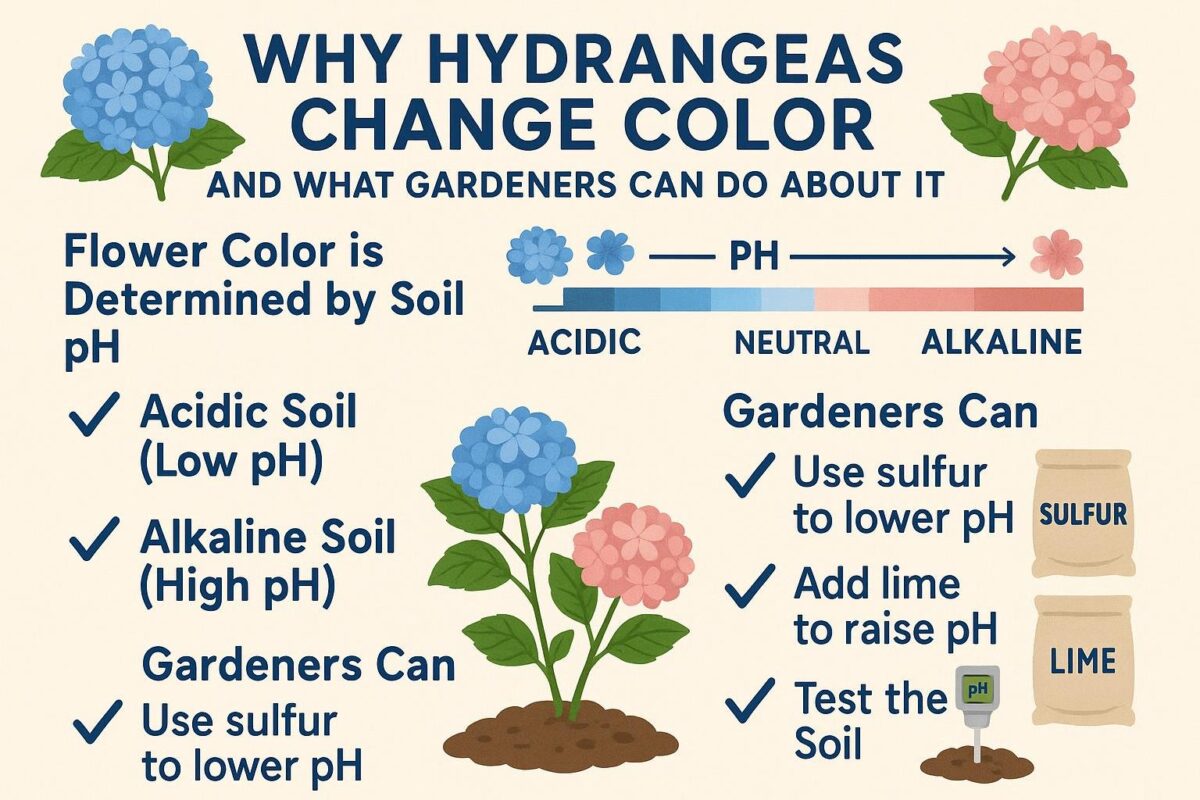
Hydrangeas have the unique ability to change color. This color change is largely influenced by soil conditions. Here’s the basic science behind it:

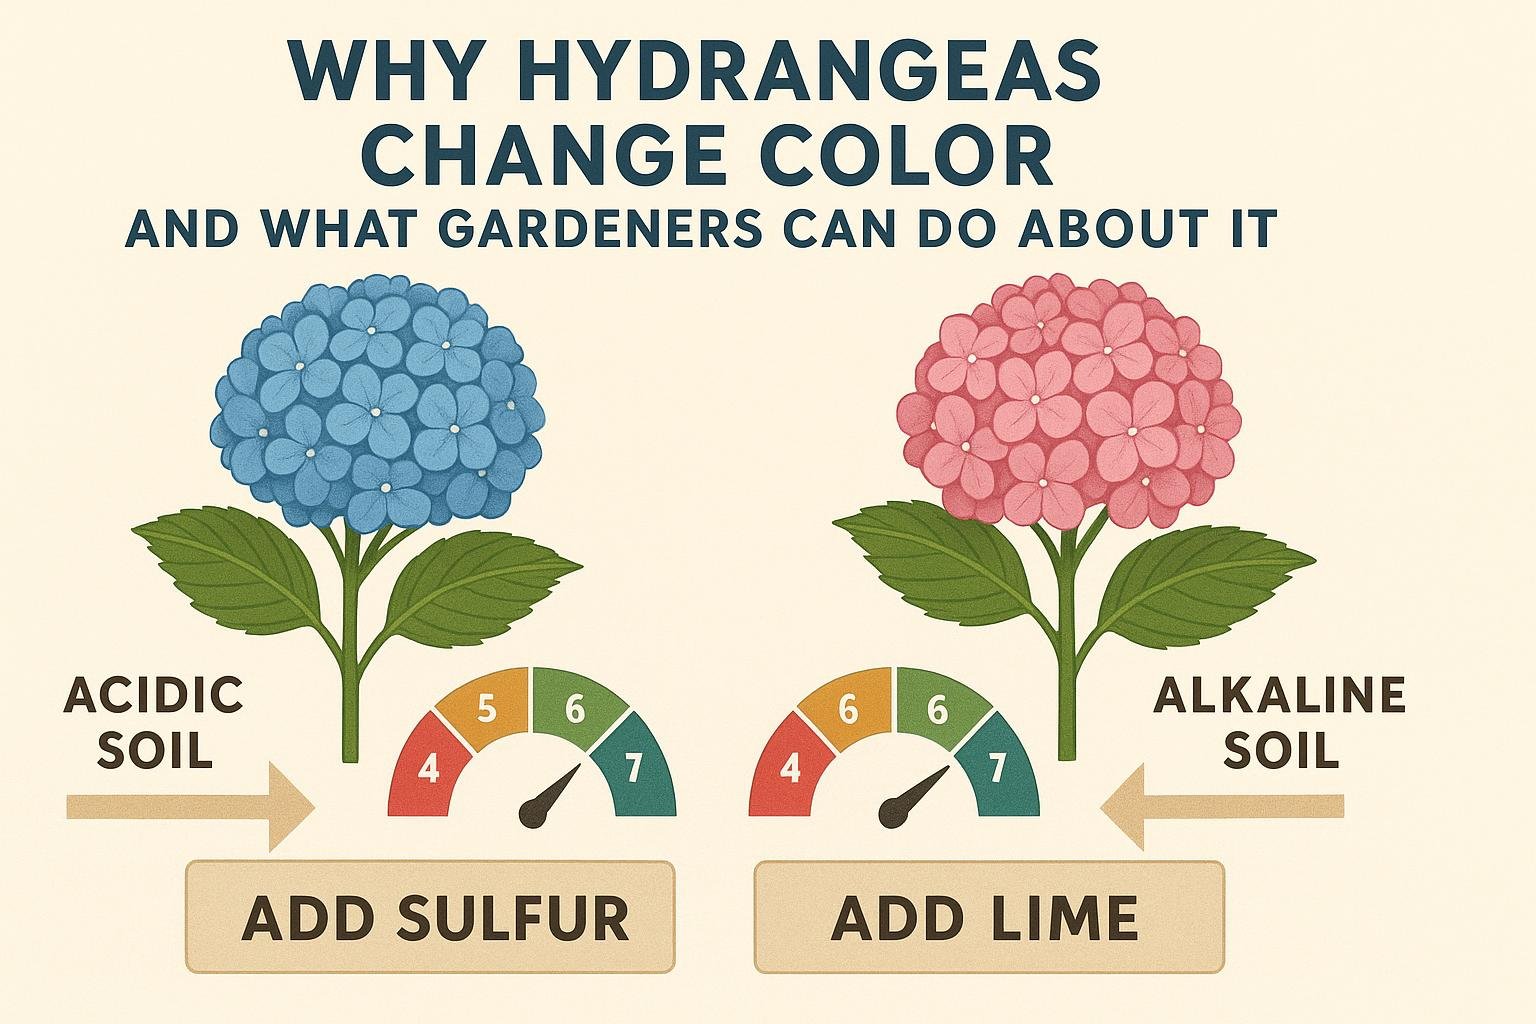
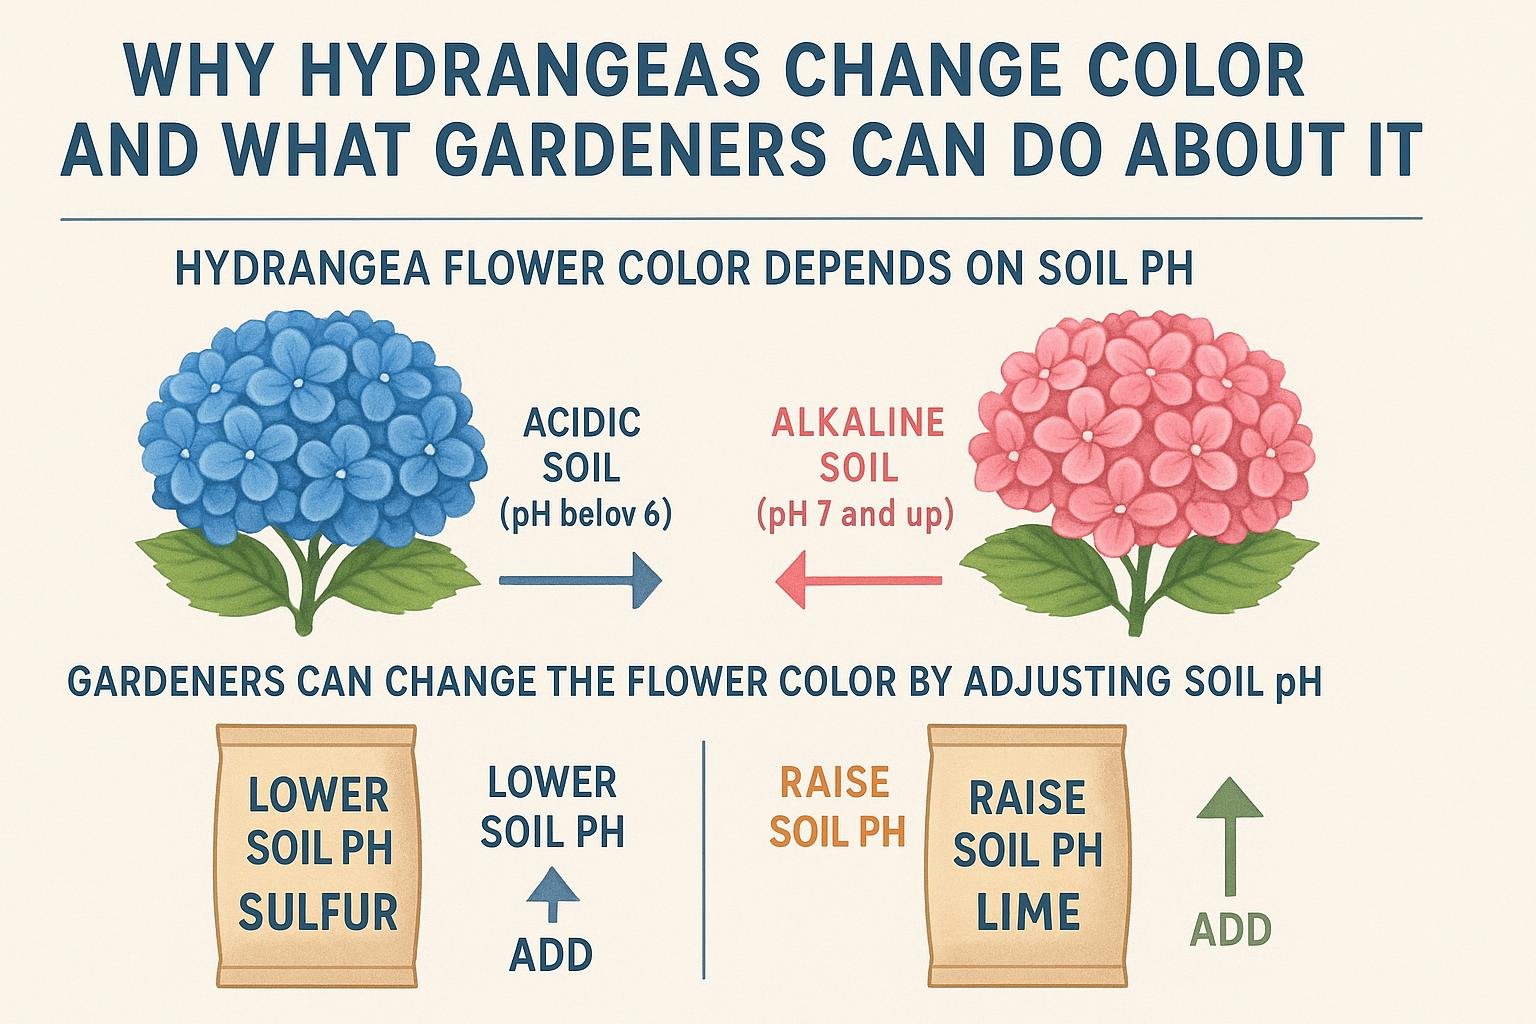
  1. Acidic Soil: If the soil is acidic, with a pH lower than 6.0, hydrangea blooms turn blue.
  2. Neutral to Alkaline Soil: If the soil is neutral or alkaline, with a pH above 6.0, hydrangea blooms turn pink or red.
  3. Presence of Aluminum: The presence of aluminum in the soil significantly affects color. In acidic soils, aluminum becomes more available, leading to blue blooms.

Factors Affecting Hydrangea Color

Besides soil pH and aluminum, several other factors can affect hydrangea color:

  • Variety: Not all hydrangea varieties can change color. For example, white hydrangeas do not change color based on soil pH.
  • Water: Excessive or insufficient water can stress the plant, affecting bloom color.
  • Fertilizers: Fertilizers containing high phosphorus levels can lock up aluminum, affecting the color.
  • Climate: Temperature and light exposure can also influence color intensity.

Altering Hydrangea Bloom Color

Gardeners can manipulate hydrangea bloom colors by altering soil conditions. Here are some methods to try:

How to Make Hydrangeas Blue

To encourage blue blooms, increase soil acidity and aluminum availability:

  1. Add Aluminum Sulfate: Mix aluminum sulfate with water and apply it around the base of the plant.
  2. Use Acidic Fertilizers: Use fertilizers with lower phosphorus and higher nitrogen levels.
  3. Plant in Acidic Mulch: Pine needles or shredded pine bark mulch can help maintain soil acidity.
  4. Water with Rainwater: Tap water can sometimes have alkaline substances. Use rainwater to maintain acidity.

How to Make Hydrangeas Pink

To turn blooms pink, increase soil alkalinity and limit aluminum availability:

  1. Add Lime: Adding ground limestone to the soil can raise the pH.
  2. Use Phosphorus-Rich Fertilizers: A fertilizer with more phosphorus can reduce aluminum uptake.
  3. Avoid Aluminum Sulfate: Do not apply aluminum-based amendments.

Other Ways to Influence Color

Here are additional tips to influence hydrangea color:

  • pH Testing: Regularly test soil pH to know how much to amend it.
  • Gradual Changes: Make gradual soil changes. Sudden shifts can stress plants.
  • Observe Varietal Limits: Some varieties do not change color, regardless of soil changes.
Hydrangea Cultivation

Pros and Cons of Color Changes

Advantages

  • Aesthetic Flexibility: Change colors to match garden themes.
  • Gardening Experimentation: Offers engaging experimentation for gardeners.

Disadvantages

  • Time Consuming: Requires regular monitoring and adjustments.
  • Varietal Limitations: Not all hydrangeas can change color.
  • Hydrangea macrophylla:
  • Known as Bigleaf hydrangeas. They are the most color-variable.
  • Hydrangea quercifolia:
  • Known as Oakleaf hydrangeas. Primarily remain white but can have slight blushes.

Conclusion

Understanding why hydrangeas change color allows gardeners to enjoy these plants to their fullest potential. Adjusting soil conditions with careful amendments can alter hydrangea colors. Try different amendments to see what works best for your garden. Happy gardening!

For more detailed hydrangea gardening tips, visit The Old Farmer’s Almanac and Gardening Know How.

Categories
My Blog

The Unusual Allure of the Passion Flower and Its Surprising Uses

The passion flower captivates with its intricate beauty and diverse uses. Originating from South America, this plant has drawn attention worldwide. Its unique appearance and potential benefits make it stand out.

The Charm of the Passion Flower

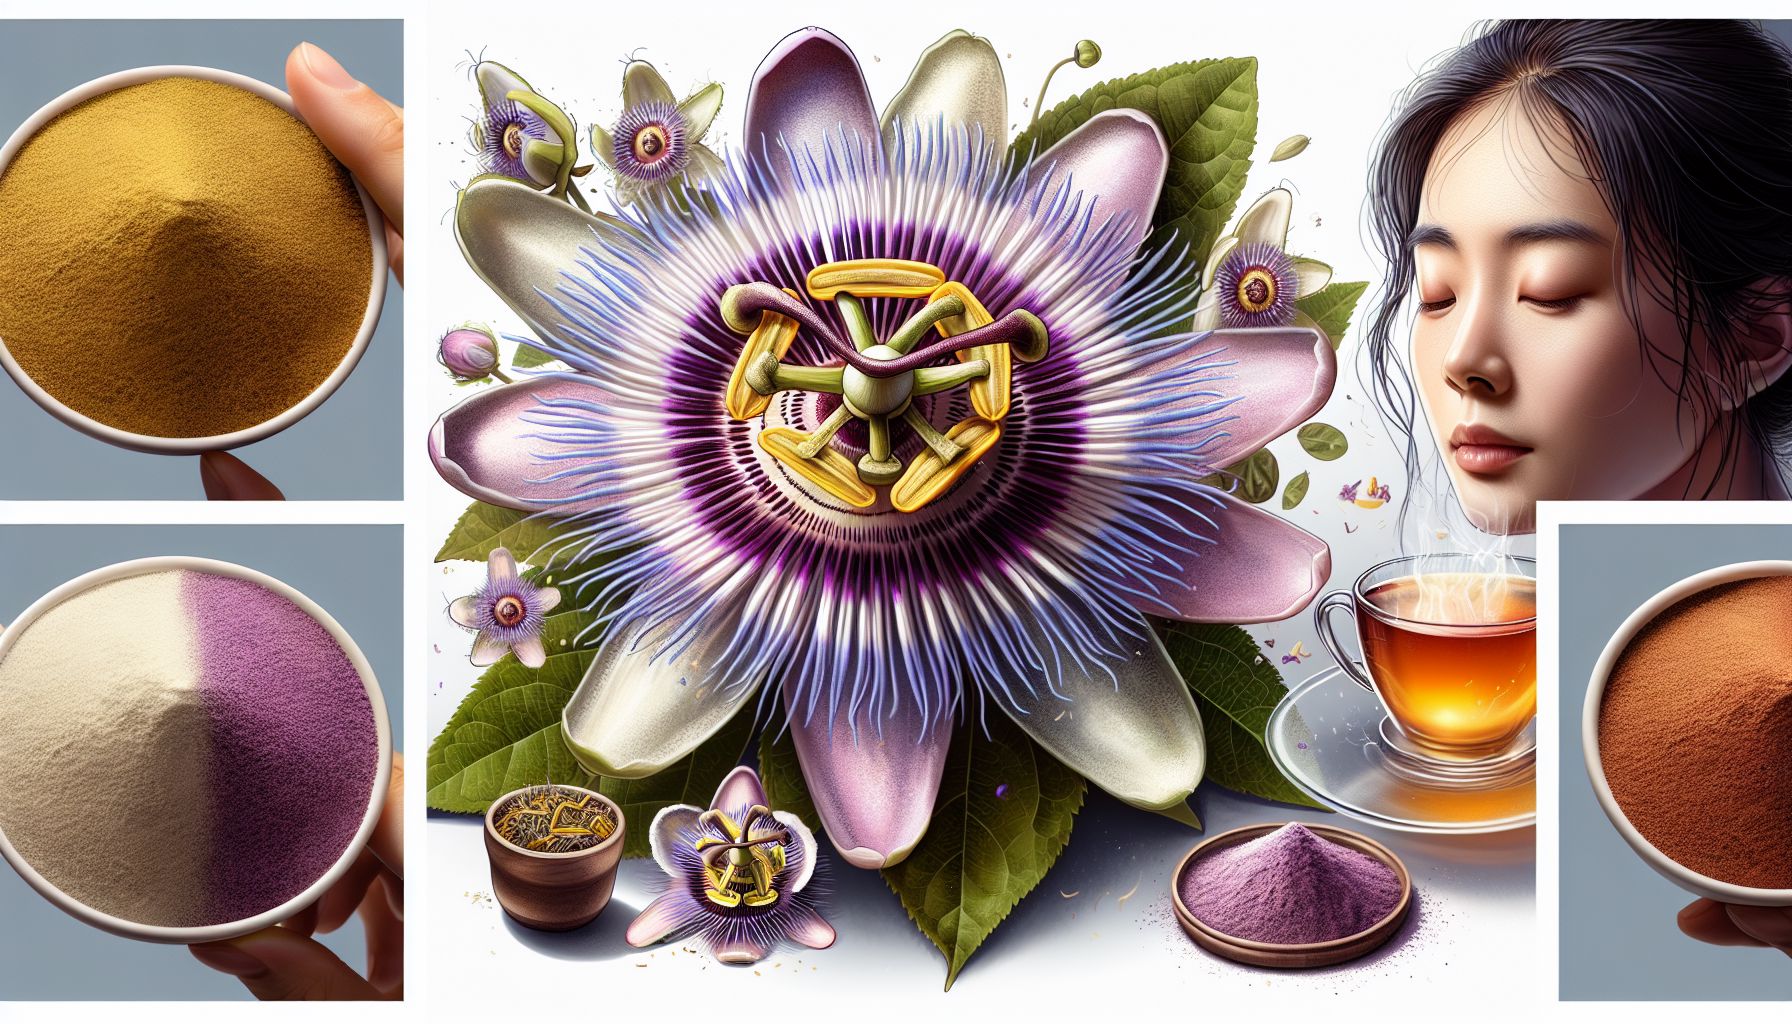
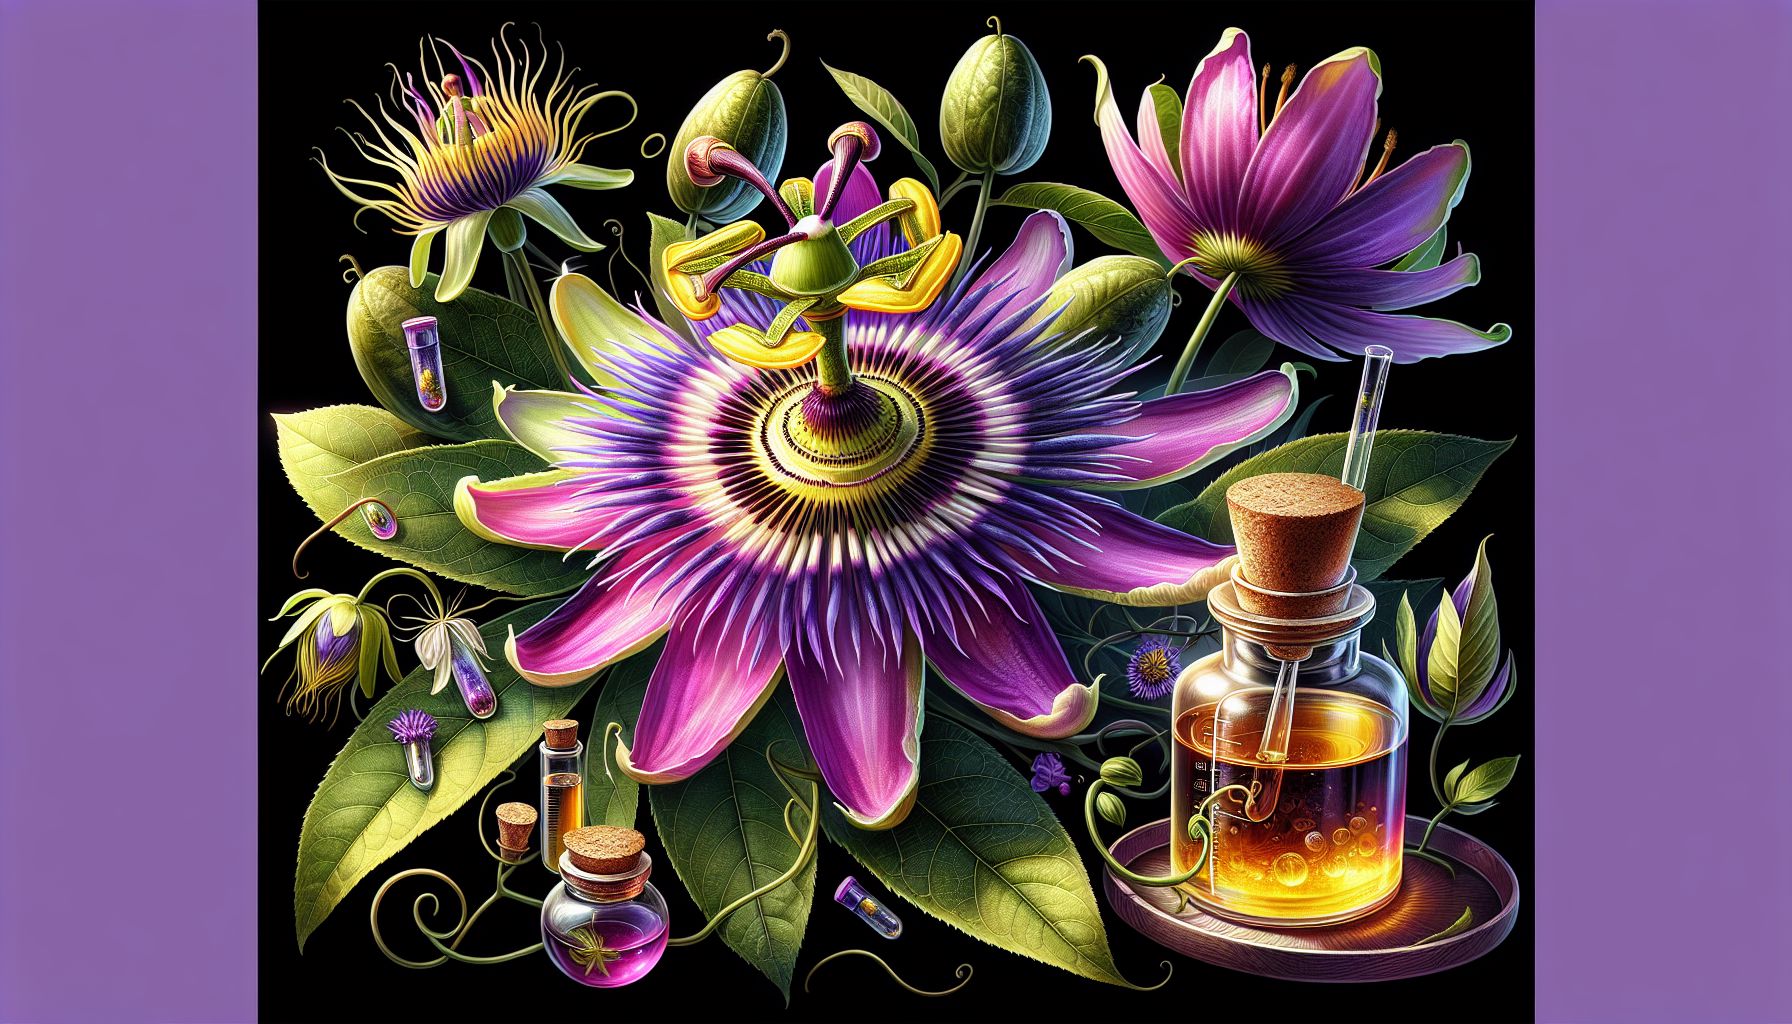
The passion flower belongs to the genus Passiflora. It is notable for its striking structure. The plant’s elaborate corona filaments, central stigmas, and vibrant colors attract the eye. Passion flowers grow on vines, producing distinctive blossoms.

Visual Appeal

The passion flower comes in various colors. Common colors include purple, blue, white, and red. Each flower has a unique pattern. The arrangement of filaments and other parts adds to its allure. Read more about its beauty.

Historical and Cultural Significance

The passion flower has historical importance. Indigenous people in the Americas used it for rituals and medicine. Spanish missionaries in the 16th century named it “passion flower” due to its resemblance to Christian symbols.

Symbolism in Religion

Missionaries saw the flower as a symbol of Jesus Christ’s crucifixion. Each part of the flower represented biblical elements. This interpretation helped spread the plant’s fame across Europe.

Medicinal Uses

The passion flower has medicinal properties. It is used in traditional medicine to treat anxiety, insomnia, and mild pain. Scientists study its effects on the nervous system.

Anxiety and Sleep Aid

Passion flower may help reduce anxiety. Some studies suggest it enhances GABA levels in the brain. GABA is a neurotransmitter that promotes relaxation. The plant is also used as a sleep aid. It can improve sleep quality without significant side effects according to studies.

Natural Pain Reliever

People use passion flower to alleviate mild pain. Its components may have anti-inflammatory effects. Though research is ongoing, early results are promising.

Precautions

Using passion flower supplements can have side effects. Some people experience dizziness or drowsiness. It is important to consult a healthcare provider before using it. Pregnant women and children should avoid it unless advised by a doctor.

Culinary Uses

In addition to medicinal uses, passion flowers have culinary applications. The fruits of some species, such as Passiflora edulis, are edible and widely consumed.

Passion Fruit Delights

The passion fruit, derived from certain passion flower species, is popular in cooking. It has a sweet-tart flavor and fragrant aroma. People use it in juices, desserts, and salads. Its popularity in the culinary world continues to grow.

Nutritional Benefits

The fruit is rich in vitamins and minerals. It contains vitamin C, vitamin A, and potassium. These nutrients contribute to overall health. Eating passion fruit supports immune function and skin health.

Considerations

Although passion fruit is nutritious, some people may have allergies. Symptoms can include itching, swelling, and difficulty breathing. If allergic reactions occur, seek medical help immediately.

Passion Flower in Horticulture

The passion flower’s beauty makes it popular in gardening. Gardeners appreciate its ornamental value.

Growing Passion Flowers

These plants thrive in warm climates. They require well-drained soil and ample sunlight. Passion flowers can climb trellises and walls, serving as stunning vertical decorations.

Maintenance Tips

Pruning is essential to keep the plant healthy. Removing dead or weak branches promotes growth. The plant may need support like trellises to grow properly. Regular fertilization enhances flowering.

Challenges

Passion flowers attract pests such as aphids and caterpillars. Monitoring and managing these pests is crucial. Some gardeners use natural remedies or insecticidal soap.

Environmental Impact

Passion flowers have a role in supporting biodiversity. Their flowers attract pollinators, including bees and butterflies. These insects aid in pollination, benefiting ecosystems.

Contribution to Biodiversity

In gardens, passion flowers can increase biodiversity. They offer habitat and food for various pollinators. This support boosts the local ecosystem’s health and resilience.

Conclusion

The passion flower fascinates with its dual appeal as a decorative plant and medicinal herb. Its beauty and utility capture the imagination. Whether used in gardens, medicine, or cuisine, the passion flower continues to charm people across the globe. Its potential benefits and vibrant appearance ensure it has a lasting place in many fields.

Categories
My Blog

Tulips Explained: From Their Dutch History to Today’s Trending Varieties

Tulips have captivated audiences worldwide for centuries. Their vibrant blooms adorn gardens, parks, and bouquets. This article delves into the fascinating journey of tulips, from their Dutch origins to their modern varieties trending today.

The Origin of Tulips

Tulips originated in Central Asia. The plant flourished in the wild, surrounded by mountainous terrain. Nomadic tribes likely discovered and admired these striking flowers.

Tulips in the Ottoman Empire

The flower gained prominence in the Ottoman Empire in the 16th century. Gardeners cultivated the plant, valuing its vivid colors and unique petals. Tulips became a symbol of the elite, adorning the gardens of sultans and wealthy citizens.

Tulips Arrive in Europe

Tulips first arrived in Europe in the late 16th century. Europeans marveled at their exotic beauty, quickly adopting them into their own gardens.

The Dutch Tulip Mania

In the 17th century, tulips created an economic phenomenon in the Netherlands. The country was undergoing a period of prosperity, known as the Dutch Golden Age. People saw tulips as luxury items. Prices soared, and tulip bulbs became more valuable. We now refer to this craze as “Tulip Mania.” Eventually, the market crashed, but tulips remained a beloved part of Dutch culture.

Tulip Fields in Holland

Today’s Tulip Varieties

Today, gardeners cultivate over 3,000 varieties of tulips. They vary in color, size, and shape, offering diverse choices for enthusiasts and collectors alike.

  1. Darwin Hybrid Tulips
    These tulips stand out for their large, vibrant blooms. They can grow up to 24 inches tall. Gardeners appreciate their durability and long bloom time. Learn more about Darwin Hybrid Tulips.

  2. Parrot Tulips
    Gardeners love Parrot Tulips for their extravagant petals. The petals often resemble feathers or flames, adding drama to any garden.

  3. Triumph Tulips
    Triumph Tulips are excellent for colder climates. They bloom early and feature vibrant colors, ranging from deep purples to bright yellows.

Colorful Tulips

Tulips Around the World

Tulips have spread beyond their Dutch homes. They now thrive in gardens worldwide, from the United States to Japan.

Tulip Festivals

Many countries celebrate the tulip with festivals. These events showcase stunning displays of the flower, drawing tourists and locals alike.

  • The Skagit Valley Tulip Festival in Washington, USA offers fields bursting with color every April. This festival attracts hundreds of thousands of visitors each year. Visit the official festival website.

  • The Australian Tulip Festival in Victoria presents stunning displays of tulips amidst a verdant, natural backdrop.

The Impact of Climate

Tulips thrive in cooler climates. Gardeners in warmer areas must take care to replicate conditions suitable for tulip growth. Mixing tulip varieties in diverse climates showcases the plant’s adaptability.

Growing Tulips at Home

Anyone can cultivate tulips with the right knowledge. Plant bulbs in the fall before the ground freezes. Choose a sunny location with well-drained soil. Water them regularly for the best results.

Tips for Tulip Maintenance

  • Soil: Use loose, sandy soil to prevent waterlogging.
  • Watering: Ensure the soil is moist but not soggy.
  • Sunlight: Plant tulips in areas with full sunlight for optimal growth.

The Pros and Cons of Growing Tulips

Like any plant, tulips have their benefits and challenges.

Pros

  • Aesthetic: Their vibrant colors make gardens stand out.
  • Variety: Choose from numerous types to fit any garden design.
  • Seasonal: They offer seasonal beauty, heralding the arrival of spring.

Cons

  • Temperature Sensitivity: They may not thrive in extremely warm climates.
  • Pests: Tulips can be susceptible to common garden pests.
  • Brief Blooms: Tulips offer short blooming periods requiring good planning.

Conclusion

Tulips have an intriguing history, beginning in Central Asia and blossoming into a symbol of beauty worldwide. Tulip Mania highlighted their cultural significance and lasting appeal. Today, they offer gardeners a range of options, from classic Dutch varieties to modern hybrids. While growing tulips presents challenges, true enthusiasts enjoy their vivid beauty. The legacy of the tulip lives on, enchanting those who plant and admire them.

Categories
My Blog

Marigolds: The Underrated Flower With Powerful Garden Benefits

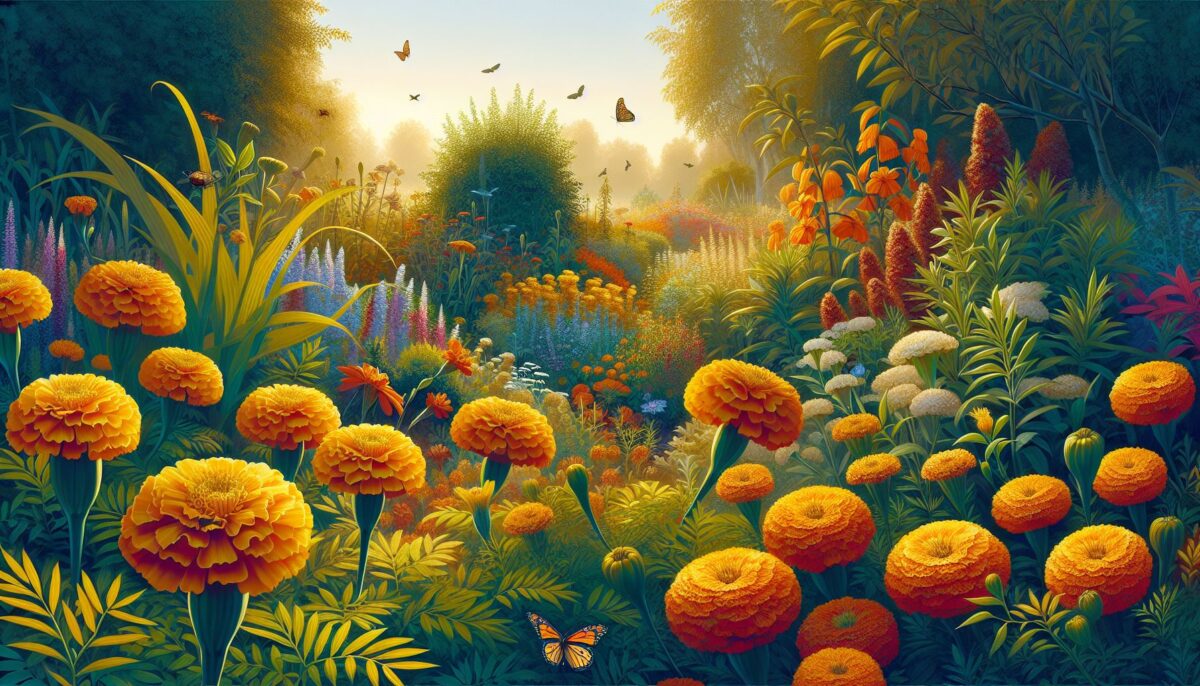
Marigolds in full bloom

Marigolds are vibrant flowers that brighten gardens with their bold colors. Despite their beauty, people often overlook their many benefits. These flowers offer practical advantages to gardeners and play a crucial role in garden ecosystems. This guide explores marigolds, showcasing their benefits, varieties, growth preferences, and care tips.

The Beauty and Variety of Marigolds

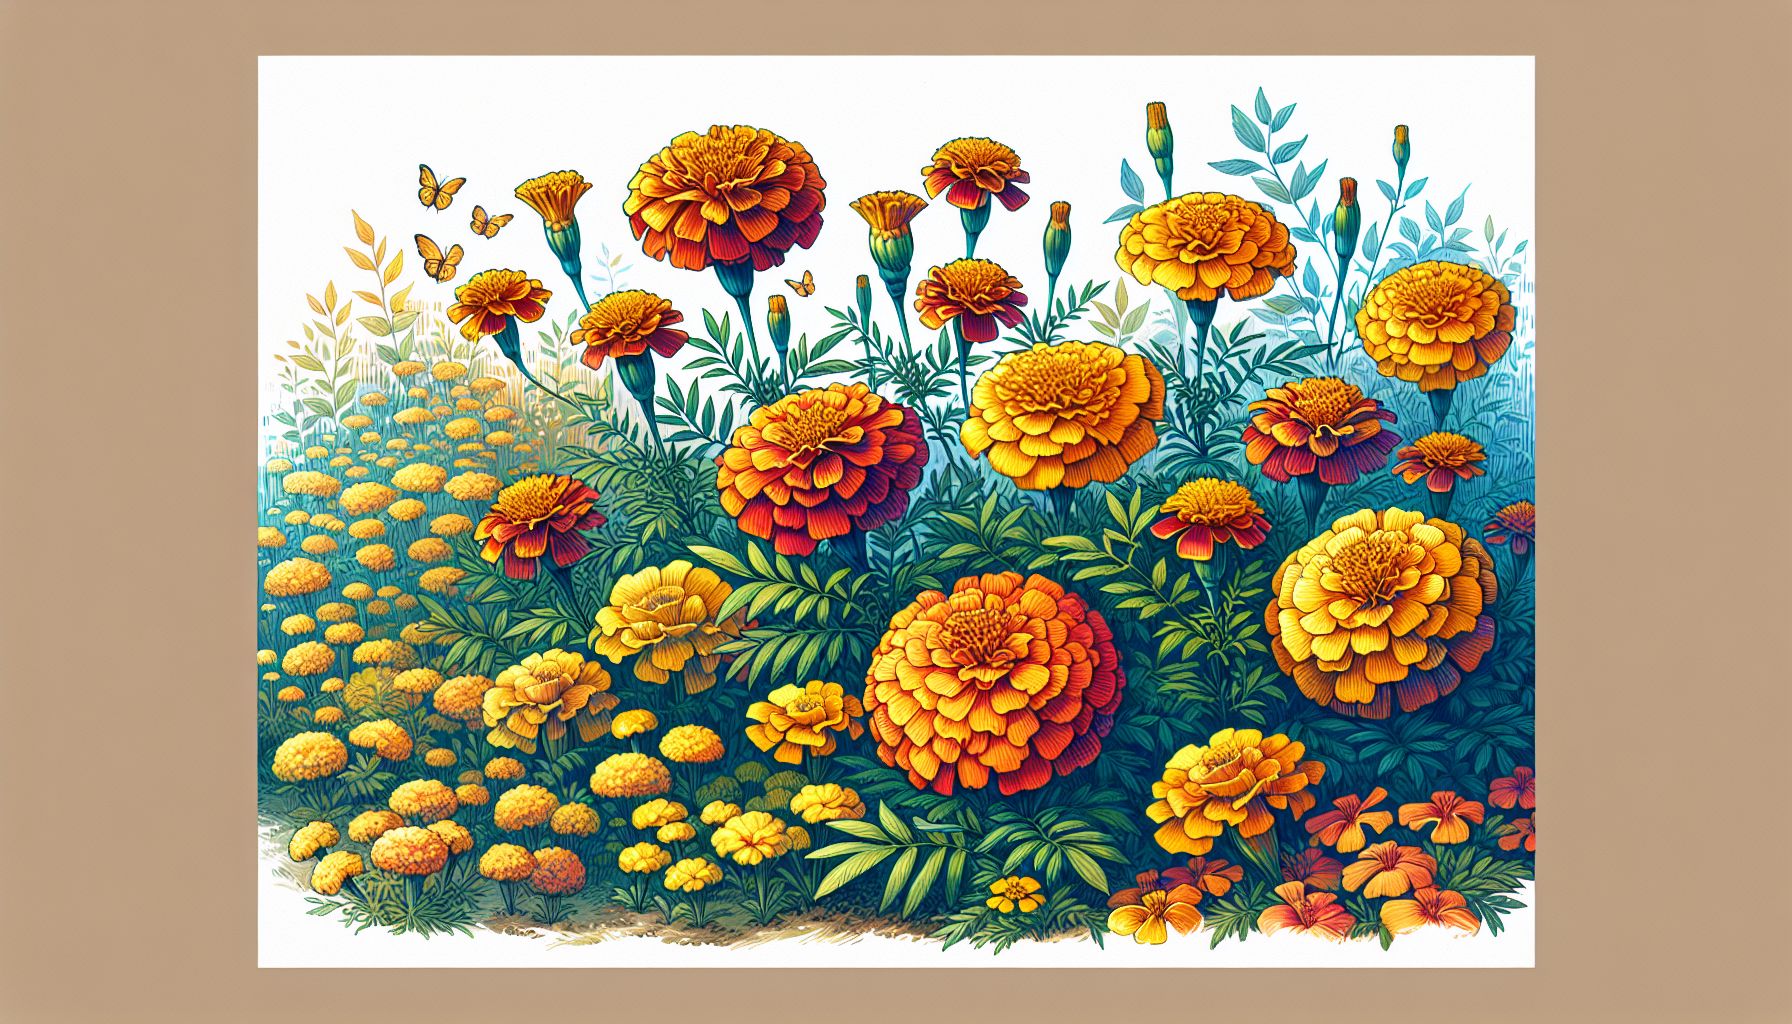
Marigolds belong to the genus Tagetes, offering over 50 species. The most common types are African marigolds and French marigolds. African marigolds (Tagetes erecta) have large, showy blooms in shades of yellow to orange. French marigolds (Tagetes patula) are small, bushy, and present a wider color range, including reds, yellows, and mixed hues.

These flowers are not only attractive but also versatile. They grow in various climates and conditions, making them accessible for gardeners worldwide. Their resilience and adaptation to diverse environments contribute to their widespread appeal.

Powerful Pest Control

Marigolds are known for their pest-repellent properties. They release chemicals that deter harmful insects. The most famous compound, alpha-terthienyl, discourages nematodes, tiny worms that damage plant roots. By planting marigolds near vegetables, gardeners can reduce pest populations naturally.

Additionally, marigolds attract beneficial insects. Ladybugs, which prey on aphids and other harmful bugs, are drawn to marigolds. This natural pest control supports garden health without relying on chemical pesticides, promoting a more sustainable gardening approach.

Soil Improvement with Marigolds

Marigolds help improve soil health. They secrete substances that inhibit nematodes and other soil-borne pests. Over time, this reduces the need for soil treatments. Marigold roots also penetrate the soil deeply, enhancing soil structure. This allows better air and water movement, fostering a healthier environment for other plants.

Another benefit is marigolds’ role in crop rotation. Planting marigolds between crops can break pest cycles and enhance soil nutrients. This practice leads to healthier subsequent crops, boosting overall garden productivity.

Easy Growth and Low Maintenance

Marigolds are easy to grow, making them ideal for beginner gardeners. They require minimal care and thrive in various soil types. To plant marigolds, follow these simple steps:

  1. Choose a sunny spot.
  2. Prepare the soil by ensuring good drainage.
  3. Sow seeds 1/4 inch deep.
  4. Water regularly, ensuring the soil remains moist.

Once established, marigolds demand less attention than many plants. Their drought tolerance allows them to survive with minimal watering, though they perform best with regular moisture. Fertilizing once or twice per season ensures optimal growth.

Marigold varieties

Marigolds in Companion Planting

Marigolds are a staple in companion planting, a method where plants support each other’s growth. When paired with vegetables such as tomatoes, beans, and cabbages, marigolds help deter pests and enhance growth. Their fragrance masks plants’ scents, confusing pests and reducing attacks.

Incorporating marigolds with herbs also yields benefits. Thyme and rosemary, when planted with marigolds, benefit from pest reduction and improved growth. By carefully selecting companion plants, gardeners can maximize yield and garden health.

Pros and Cons of Growing Marigolds

Pros

  • Attractiveness: Marigolds are visually appealing, adding vibrant color to gardens.
  • Pest Control: They repel harmful insects, reducing the need for pesticides.
  • Soil Health: Marigolds improve soil structure and break pest cycles.
  • Ease of Growth: Ideal for beginners due to low maintenance requirements.
  • Versatility: Suitable for various climates and garden types.

Cons

  • Short Lifespan: Marigolds are annuals, needing replanting each year.
  • Limited Color Range: While varied, their colors might not fit every garden palette.
  • Overcrowding Issues: Dense planting may lead to competition for resources.

Conclusion

Marigolds offer numerous benefits that make them invaluable in any garden. Their beauty, pest-repelling properties, and ease of cultivation enhance garden ecosystems. By planting marigolds, gardeners can enjoy a more sustainable and productive environment. Spring is the ideal time to plant these vibrant flowers, allowing them to establish and thrive throughout the season.

For further information on marigold benefits and planting tips, readers can explore resources at The Spruce and Gardening Know How.
Embrace marigolds in your garden to experience their full potential and transform your gardening experience. These vibrant blooms will not only beautify your space but also contribute to a healthier, more balanced ecosystem.

Categories
My Blog

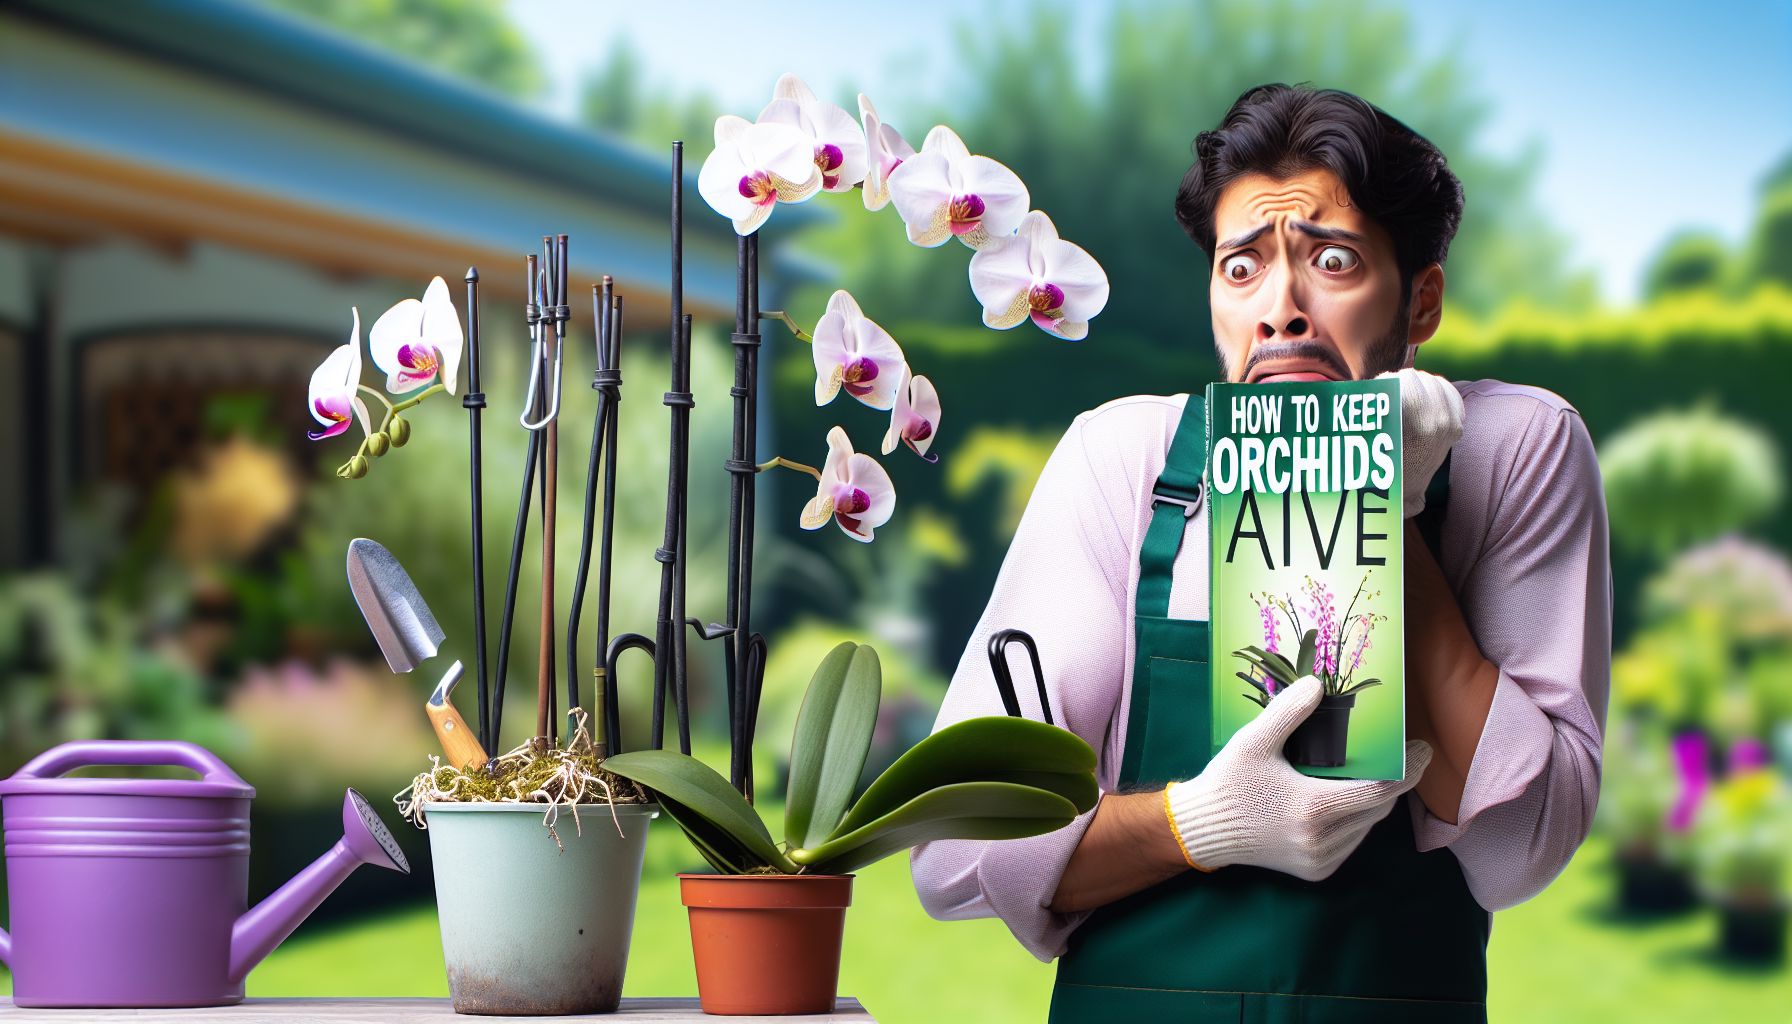
Why Orchids Intimidate New Gardeners and How to Keep Them Alive

Orchids are beautiful flowers that many people admire. However, new gardeners often find them difficult to grow. This article explains why orchids intimidate beginners and provides simple tips to help keep them alive.

Understanding Orchid Fear

Many new gardeners feel overwhelmed by orchids. Several factors contribute to this feeling.

Exotic Appearance

Orchids look exotic. Their unique shapes and colors stand out compared to common houseplants. This uniqueness creates an impression that orchids require special care.

Beautiful Orchid

Misleading Reputation

People often assume orchids are fragile. Stories of orchid care failures spread quickly, reinforcing this belief. This assumption discourages potential growers.

Care Complexity

Orchid care seems complex. Terms like “humidity control” and “air circulation” sound technical. Beginners might feel unsure about how to implement these practices effectively.

Basics of Orchid Care

While orchids may seem challenging, their basic needs are simple. Understanding these can ease the intimidation.

Light Requirements

Orchids need bright, indirect light. Direct sunlight can harm them. Place orchids near an east-facing window for best results.

Watering Needs

Orchids prefer less water. Overwatering is a common mistake. Water them once a week and let the soil dry between watering. Also, use lukewarm water to avoid shocking the roots.

Potting Medium

Orchids do not grow in regular potting soil. Use a specialty orchid potting mix. This mix typically includes bark and allows for better drainage.

Temperature and Humidity

Orchids thrive in temperatures between 60°F and 80°F. Aim for a humidity level of around 50% to 70%. Placing a humidity tray near the orchid can help achieve this level.

Common Challenges and Solutions

Even with basic care knowledge, new gardeners can face challenges. Here are some common issues and solutions.

Caring for Orchids

Root Rot

Root rot occurs from overwatering. If leaves turn yellow and roots look mushy, check watering habits. Improve drainage and ensure pots have holes.

Pest Infestations

Pests like aphids can harm orchids. Regularly inspect plants for signs of pests. Treat infestations with insecticidal soap or neem oil.

Limited Flowering

Sometimes orchids do not flower. This issue often stems from insufficient light or improper feeding. Increase light exposure and use a balanced orchid fertilizer to promote blooms.

Tips for Successful Orchid Growing

Growers can take several steps to improve their orchid growing success.

Start Small

Begin with a single orchid. Focus on understanding its needs before expanding your collection. This approach helps prevent feeling overwhelmed.

Choose Hardy Varieties

Some orchids are easier to grow than others. Phalaenopsis (moth orchids) are a good choice for beginners. They are forgiving and adapt well to different environments.

Consistent Routine

Establish a care routine and stick to it. Consistency in watering, feeding, and light conditions helps orchids thrive.

Use Trusted Resources

Educate yourself using reliable sources. Websites like Orchid Society of America and The Orchid Care Lady offer valuable information.

Conclusion

Orchids can seem intimidating at first. Their exotic appearance, reputation for difficulty, and specific care needs make them a challenging choice for beginners. However, with proper understanding and consistent care, anyone can grow beautiful orchids. Focus on meeting their basic requirements, recognize common challenges, and utilize available resources. In time, you will see that orchids are not as intimidating as they seem and can provide a rewarding gardening experience.

Categories
My Blog

The Fascinating World of the Protea, One of Earth’s Oldest Flowers

Introduction

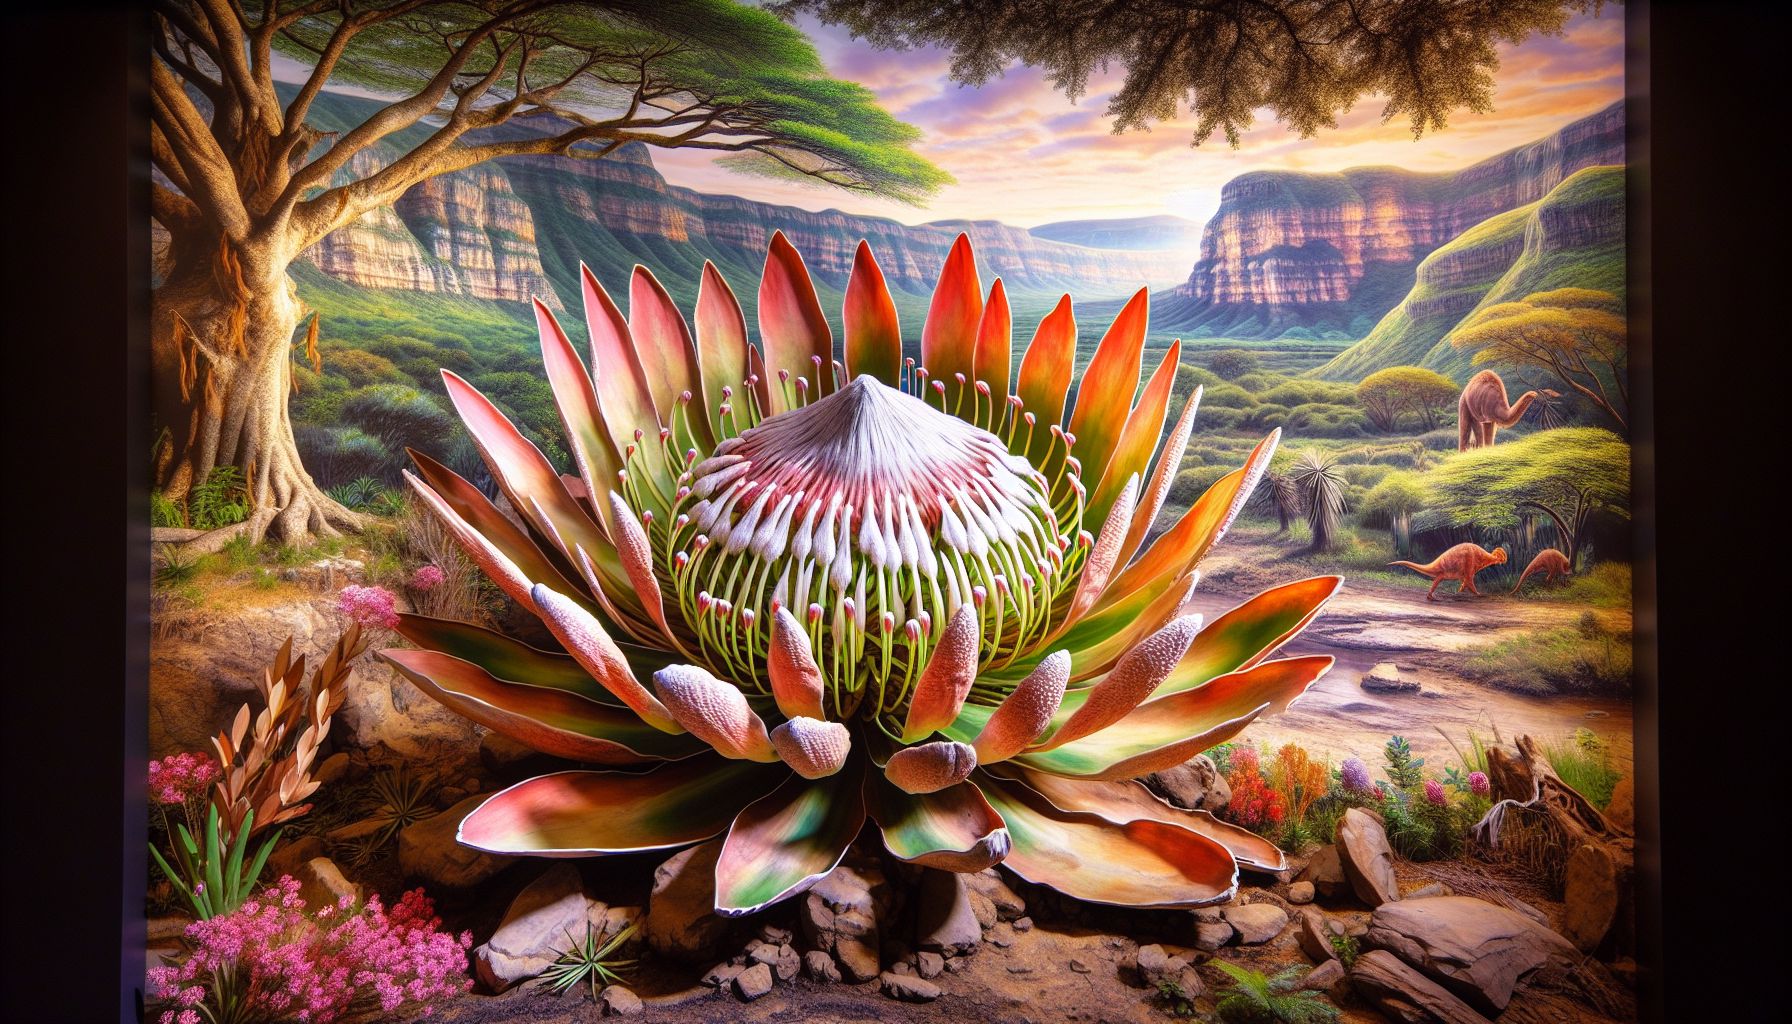
The protea flower is an ancient species that dates back over 300 million years. Known for its unique appearance and incredible resilience, this flowering plant captivates botanists and flower enthusiasts alike. In this article, we explore the origins, significance, varieties, growing conditions, and ecological role of the protea flower. We will also link you to more resources where you can learn about this fascinating plant.

Origins and History

Proteas belong to the family Proteaceae, which is native to South Africa and Australia. The name ‘Protea’ is derived from the Greek god Proteus, who could change shapes, reflecting the diverse forms and colors of these flowers. Proteas have adapted to various climates over millions of years, which makes them some of the most adaptive plants on Earth.

The fossil records show that proteas have existed since prehistoric times. This makes them one of the oldest groups of flowering plants. These ancient survivors have witnessed continents shift and climates change, remaining unchanged in their beauty and complexity.

Varieties of Protea

There are over 1500 species of proteas, each with distinct characteristics. Some of the most popular varieties include:

  • King Protea (Protea cynaroides): The largest and one of the most iconic species, known for its massive, colorful flower heads.
  • Queen Protea (Protea magnifica): Slightly smaller than the King Protea, but equally stunning with its silver-tipped petals.
  • Sugarbush Protea (Protea repens): A smaller protea that produces copious amounts of nectar, which attracts birds and bees.
  • Cape Sugarbird’s Protea (Protea longifolia): Recognized for its long and tubular flower heads, it is a favorite among nectar-feeding birds.

Proteas display a wide range of textures, colors, and shapes. Their adaptability allows them to thrive in various environments, making them widely dispersed across southern Africa and Australia.

Growing Conditions

Proteas are hardy and drought-tolerant plants, adapting well to diverse climates. Here are their ideal growing conditions:

  • Soil: Proteas prefer well-drained, sandy, or loamy soil with a slightly acidic pH. They do not thrive in heavy clay soils.
  • Sunlight: Full sun exposure is necessary for optimal growth and flowering.
  • Watering: While they are drought-resistant, proteas initially require regular watering until established.
  • Climate: They do well in Mediterranean climates with wet winters and dry summers. In frost-prone areas, they need protection.

Planting proteas in the right conditions ensures that they grow robustly. Proper care involves pruning after flowering to maintain their shape and encourage new growth.

Ecological Significance

Proteas play a significant role in their native ecosystems. Here are a few notable ecological contributions:

  • Pollinator Support: Their vibrant flowers are a major attraction for pollinators like bees, birds, and insects, fostering biodiversity.
  • Wildlife Habitat: Proteas provide habitat and food resources for a diverse range of fauna, fostering environmental balance.
  • Fire Adaptation: Many proteas are fire-resistant, with thick barks or underground stems called lignotubers. This adaptation enables them to survive wildfires, contributing to their ecological resilience.

The ecological importance of protea flowers extends beyond their aesthetics. They contribute to sustaining the biodiversity of their native regions, highlighting their value in environmental conservation.

Symbolism and Uses

Proteas hold cultural significance and practical applications worldwide. They symbolize transformation and change, owing to their diverse forms and ancient existence.

  • Decorative Use: Proteas are popular in floral arrangements due to their bold shapes and colors. They make striking centerpieces and can be used in bouquets for special occasions.
  • Medicinal Properties: In traditional African medicine, parts of the protea plant are used for nutritional and health benefits.

Beyond their beauty, proteas have functional uses, revealing yet another layer of their importance.

Pros and Cons of Growing Proteas

Pros

  • Aesthetic Appeal: Proteas offer stunning visual appeal and diverse forms.
  • Low Maintenance: Once established, they require minimal care, thriving in low-water environments.
  • Ecological Benefit: They attract pollinators and contribute to biodiversity.

Cons

  • Soil Sensitivity: Proteas do not thrive in heavy clay or waterlogged soils.
  • Temperature-Sensitive: They are sensitive to extreme cold, requiring mild conditions.

The advantages of growing proteas often outweigh the drawbacks, provided they are planted in suitable conditions.

Conclusion

Proteas are a marvel of nature, combining beauty and resilience. These ancient flowering plants offer a glimpse into Earth’s prehistoric past while playing a vital role in modern ecosystems. From their diverse species and ecological importance to cultural symbolism and gardening appeal, proteas continue to fascinate. To explore more about these remarkable plants, you can visit Cape Nature’s Protea Page and Kirstenbosch National Botanical Garden.

Proteas are a vibrant testimony to the power of adaptation and survival over millions of years, making them a subject of endless fascination for botanists and plant lovers around the globe.

Categories
My Blog

Lavender Basics: What Every Beginner Should Know Before Planting

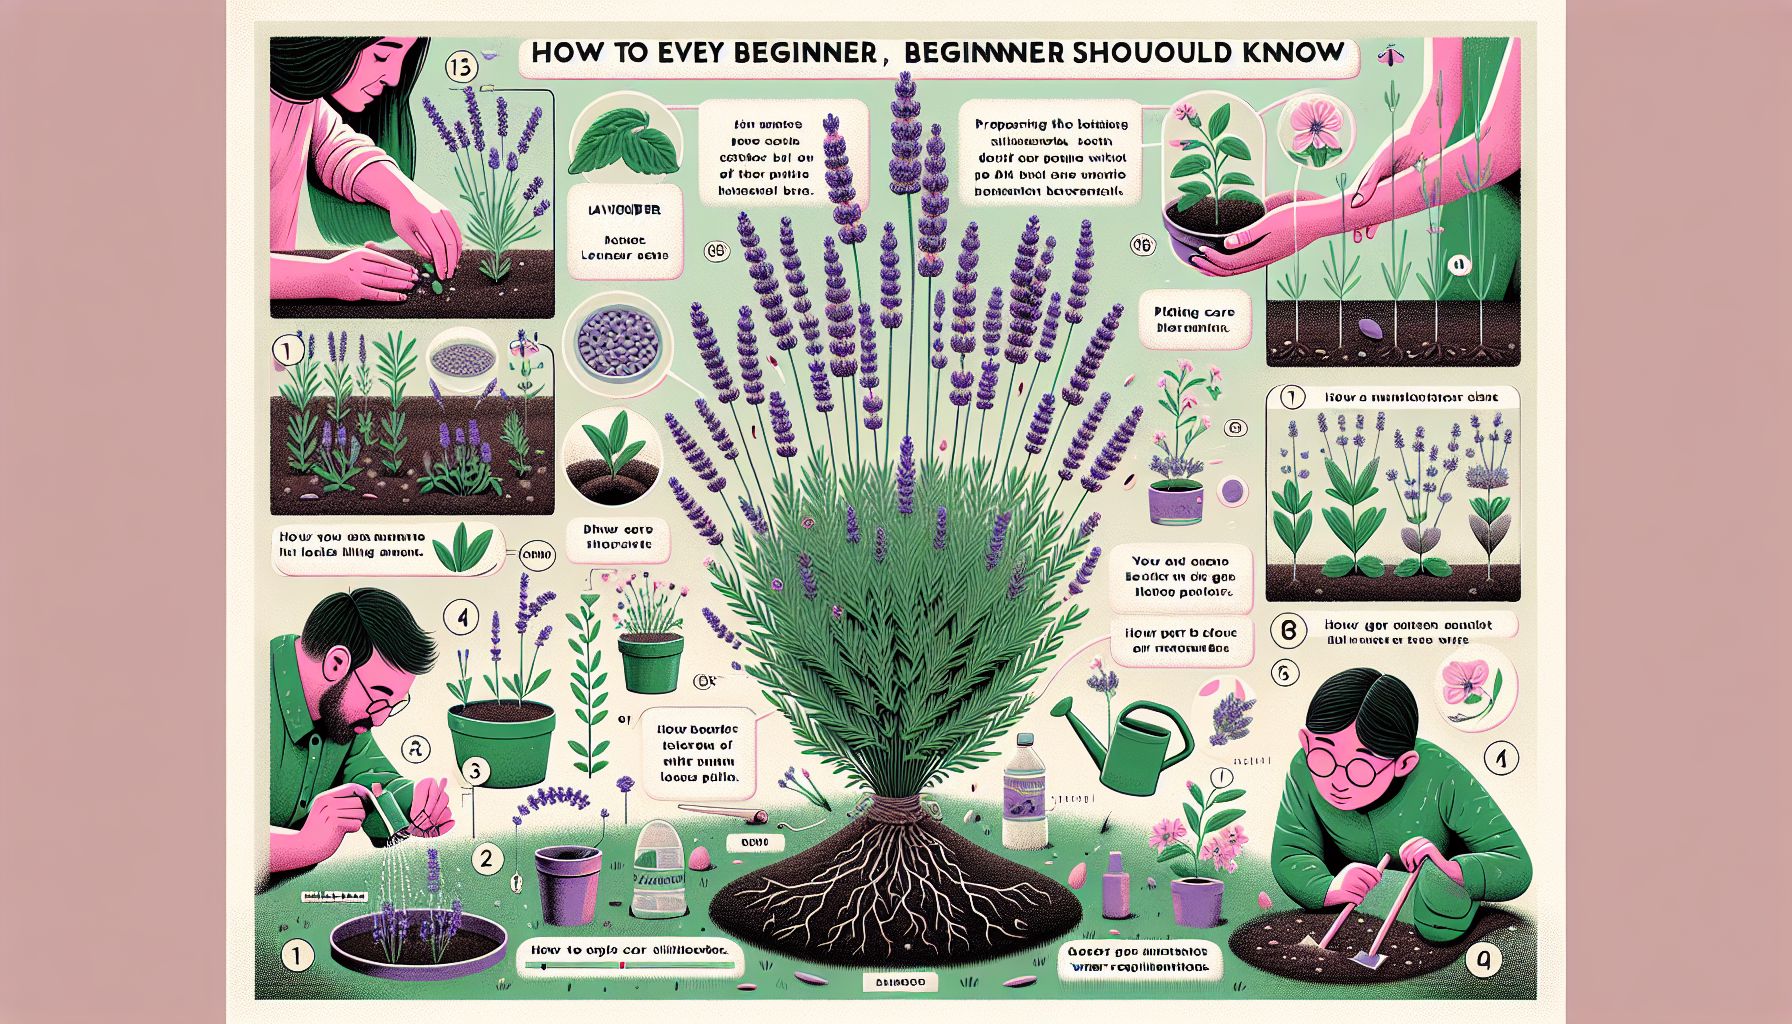
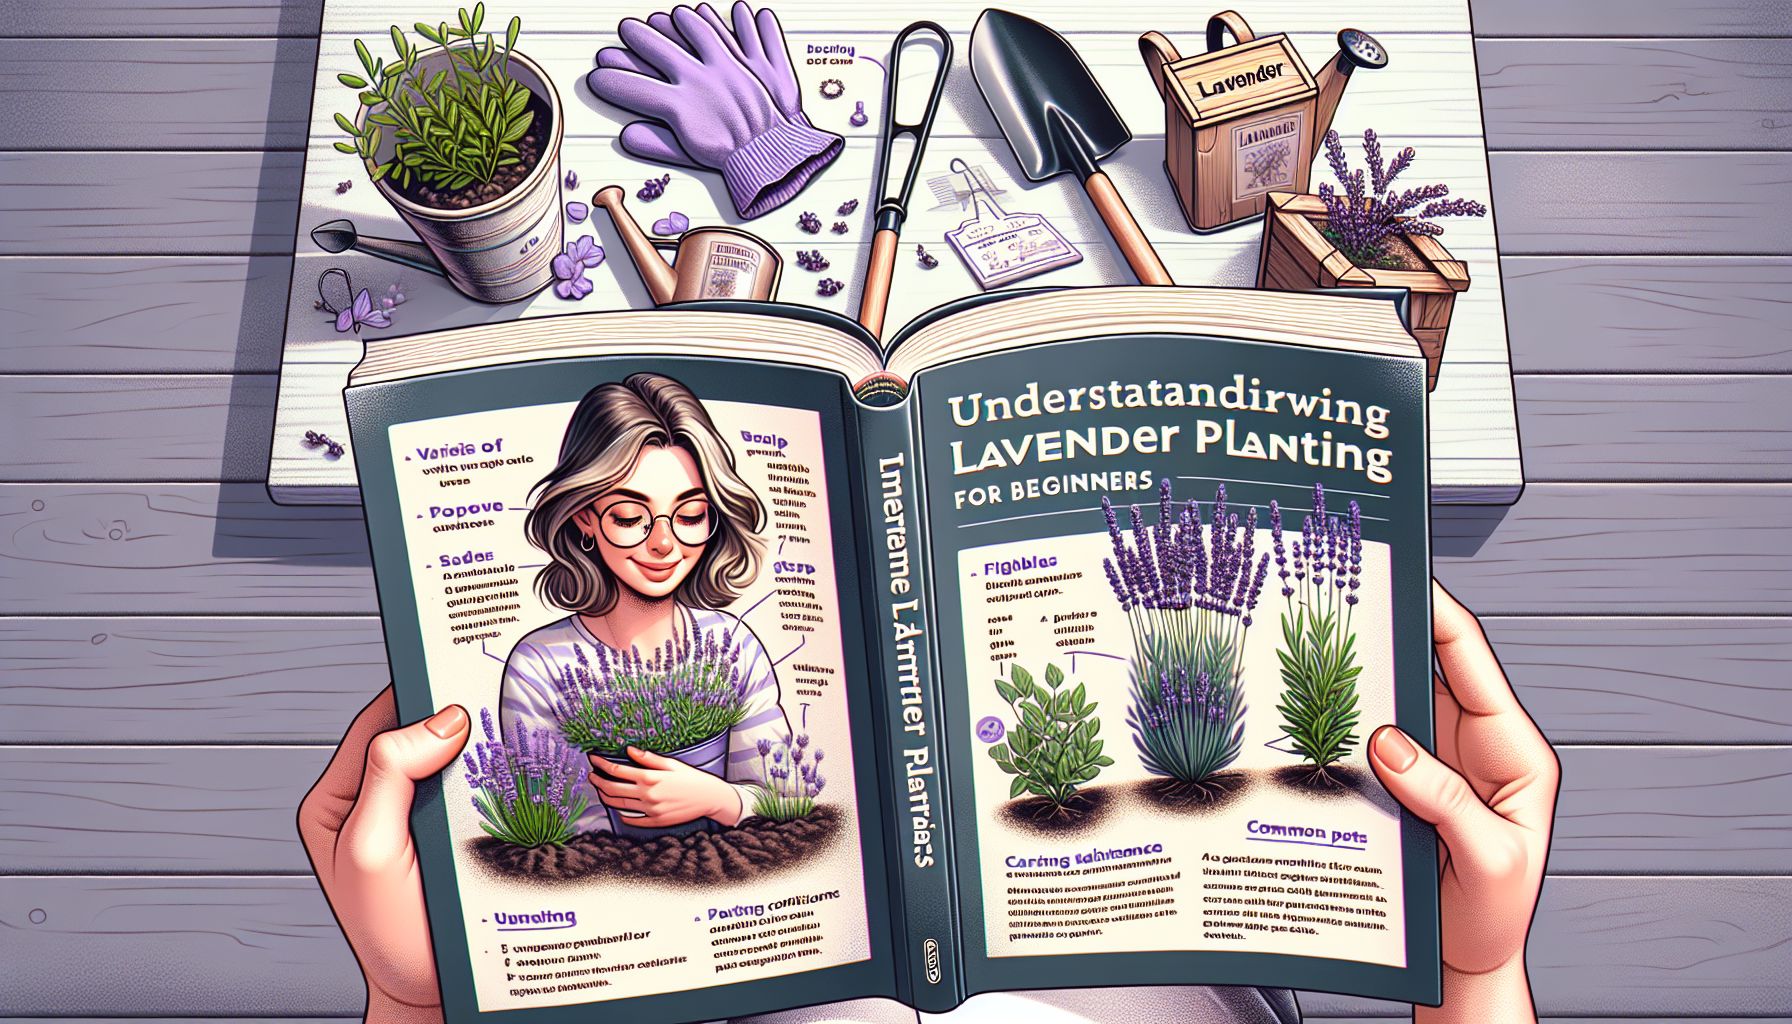
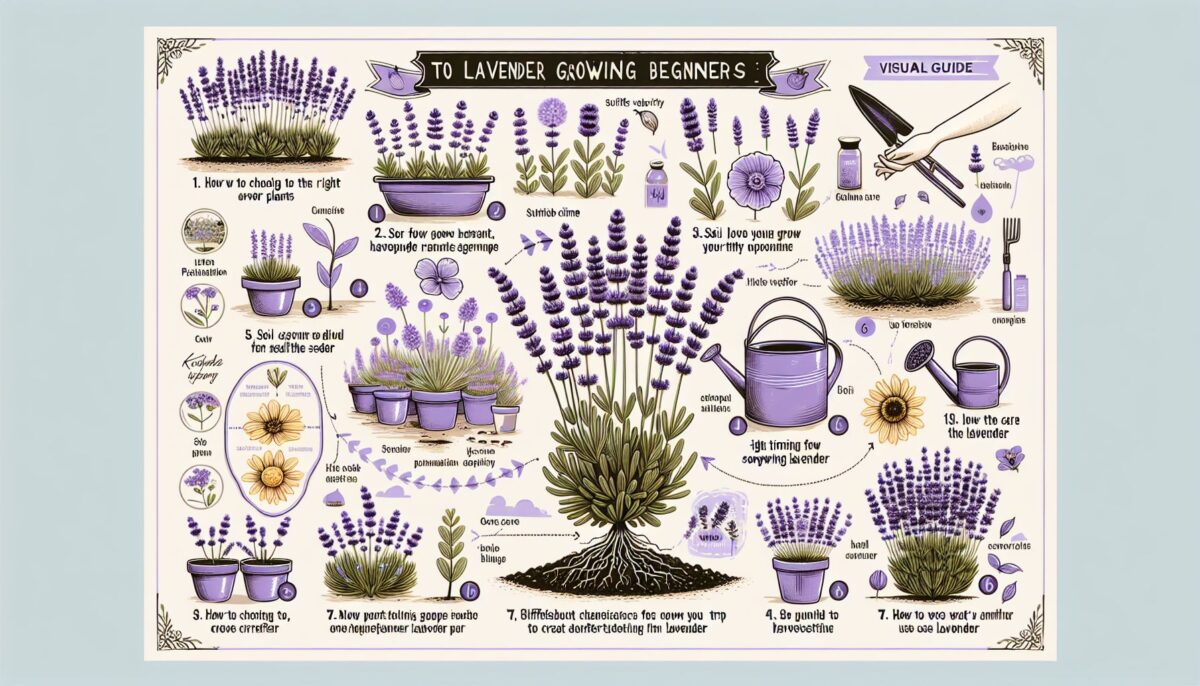
Lavender is a favorite among gardeners. Its lovely scent and beautiful blooms bring a touch of elegance to any garden. For beginners, growing lavender might seem daunting, but it doesn’t have to be. Understanding the basics of planting and caring for lavender can lead to a thriving garden full of aromatic blossoms. This article will guide you through the essential aspects of growing lavender.

Understanding Lavender Types

Lavender comes in many varieties. The most common types are English lavender (Lavandula angustifolia), French lavender (Lavandula dentata), and Spanish lavender (Lavandula stoechas). Each type has unique characteristics. English lavender is known for its sweet fragrance and cold hardiness. French lavender has broader leaves and serrated edges, while Spanish lavender is recognized for its pineapple-shaped flowers. Choosing the right type depends on your climate and gardening goals.

Lavender Types

Choosing the Right Location

Lavender thrives in full sun. It requires at least six to eight hours of sunlight daily. Select a location that receives ample sunlight. Also, lavender prefers well-drained soil. Sandy or rocky soil works best. If your soil is heavy or clay-like, consider amending it with sand or gravel to improve drainage.

Preparing the Soil

Soil preparation is crucial for lavender’s success. Before planting, test the soil pH. Lavender grows best in slightly alkaline soil with a pH between 6.7 and 7.3. If your soil is too acidic, you can add lime to increase its alkalinity. Mix in organic matter like compost to provide nutrients while ensuring the soil remains well-drained.

Planting Lavender

The best time to plant lavender is in the spring. Once the soil has warmed up, it’s ready for planting. Space lavender plants about 1 to 2 feet apart to allow for good air circulation. Dig a hole that is deep enough to accommodate the root ball. Place the plant in the hole and backfill with soil, pressing gently around the base. Water the plant well after planting.

Watering Requirements

Lavender does not need much water once it’s established. Overwatering can lead to root rot. During the first year, water young plants deeply but infrequently. Allow the soil to dry out between waterings. Once established, lavender is drought-tolerant and can thrive with minimal watering.

Pruning Lavender

Pruning helps lavender plants maintain a compact and attractive shape. The best time to prune is in the spring after new growth appears. Remove any dead or diseased wood. Trim back the foliage by one-third, being sure not to cut into old wood, which can inhibit new growth.

Pruning Lavender

Common Pests and Problems

Lavender is relatively pest-resistant. However, it can still encounter issues such as aphids, spider mites, and fungal diseases. Regularly inspect your plants for signs of trouble. If you notice pests, consider using a natural insecticidal soap. For fungal issues, ensure proper air circulation and avoid overhead watering to minimize humidity.

Harvesting Lavender

Lavender blooms are ready for harvest when about two-thirds of the flower buds have opened. Use sharp scissors or pruning shears to cut stems early in the morning, when the essential oils are strongest. Gather the cut stems into small bundles and hang them upside down in a cool, dry place to dry.

Benefits of Growing Lavender

Growing lavender offers many benefits. Its strong fragrance acts as a natural insect deterrent, reducing pests like mosquitoes, fleas, and moths. Lavender is also known for its calming properties, often used in aromatherapy to reduce stress and improve sleep. Additionally, dried lavender can be used for crafts and homemade products like sachets and essential oils. Learn more about the benefits of lavender from the University of Minnesota Extension.

Additional Tips and Considerations

  • Companion Planting: Lavender pairs well with other sun-loving plants like rosemary and sage. Their similar growing conditions make them ideal companions.
  • Mulching: Use coarse mulch like gravel or bark to improve soil drainage and prevent weeds.
  • Winter Care: In colder climates, provide winter protection with straw or cover to insulate plants from freezing temperatures.

For more detailed information on lavender care, visit the Royal Horticultural Society’s lavender care guide.

Embrace the journey of growing lavender. With some patience and attention, you will enjoy vibrant plants that bring beauty and fragrance to your garden. Whether you are harvesting lavender for its therapeutic benefits or simply enjoying its aesthetic appeal, this plant promises to be a delightful addition to your gardening experience.

Categories
My Blog

The Sunflower’s Secret: What Makes This Flower Track the Sun?

Sunflowers, with their large, bright blooms and towering height, capture the hearts of many. Their name suggests a close relationship with the sun. Indeed, sunflowers have a special trait known as heliotropism. This behavior enables them to track the sun across the sky. But how do they do it? This article uncovers the secrets behind this fascinating phenomenon.

Sunflower Field

What is Heliotropism?

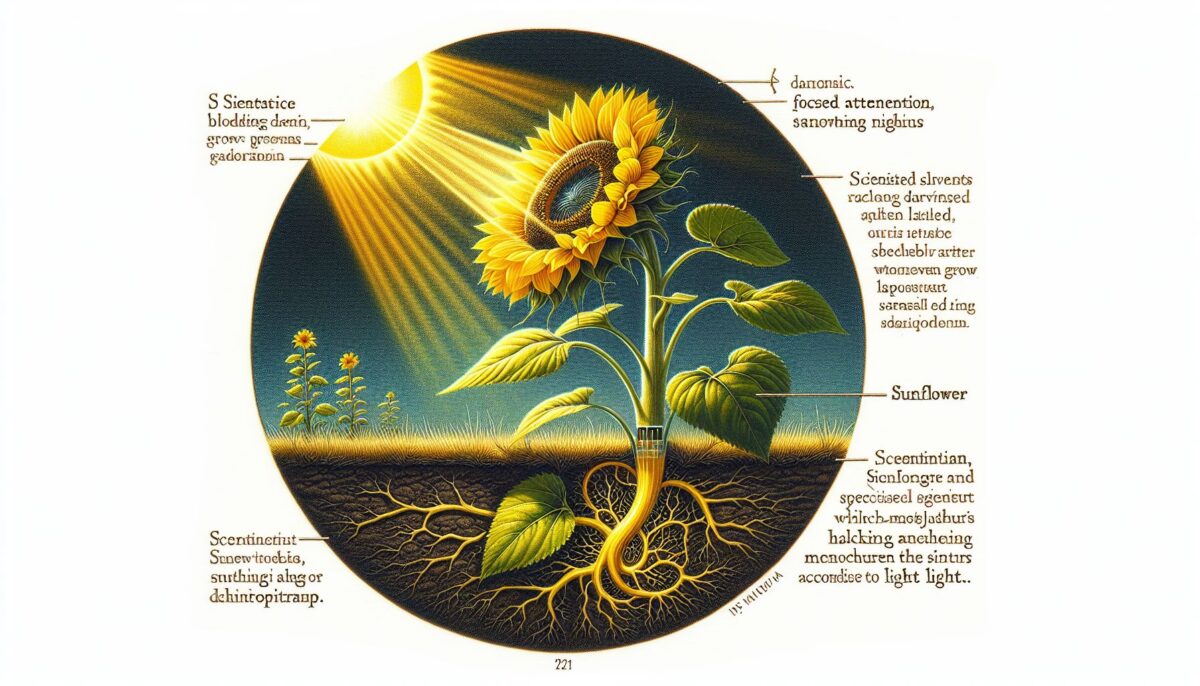
Heliotropism is the movement of a plant in response to the direction of the sun. In young sunflowers, this movement is a daily ritual. At dawn, their faces turn east to greet the morning sun. As the sun moves across the sky, they follow its path, facing west by evening.

Why Do Sunflowers Track the Sun?

The primary reason sunflowers track the sun is to maximize light absorption. Leaves and flower buds capture sunlight needed for photosynthesis. Sunlight supports healthy growth, boosts leaf size, and enhances the plant’s energy production. By following the sun, sunflowers maintain optimal exposure to sunlight throughout the day.

How Do Sunflowers Track the Sun?

Sunflowers use a combination of biological processes to track the sun. These processes involve hormones and cellular changes within the plant.

Role of Growth Hormones

Auxins are hormones that influence plant growth. In sunflowers, auxins accumulate on the side of the stem that receives less sunlight. This hormonal imbalance causes the cells on that side to elongate, bending the plant toward the sun. As the sun travels across the sky, the redistribution of these hormones directs the stem’s movement.

Cellular Mechanisms

Sunflowers have a sophisticated internal clock. This circadian rhythm helps synchronize the plant’s movements with the sun’s position. Specialized cells in the stem play a key role. They change shape and size, causing the plant to move as the sun shifts. This movement is both precise and consistent.

When Do Sunflowers Stop Following the Sun?

Interestingly, mature sunflowers stop tracking the sun. As they age, their stems stiffen, and they become fixed in an east-facing direction. This orientation helps in seed development. Facing east keeps the bloom warm longer in the cool morning, attracting pollinators like bees more effectively.

Pros and Cons of Sunflower Heliotropism

Advantages

  1. Improved Growth: By maximizing sunlight exposure, sunflowers grow taller and healthier.
  2. Increased Seed Production: Better growth leads to more seeds, which is beneficial for reproduction.
  3. Enhanced Pollination: An eastward position in maturity increases warmth and attracts more pollinators.

Disadvantages

  1. Energy Consumption: Moving requires energy, which the plant diverts from other processes.
  2. Vulnerability: Continuous movement might expose plants to different environmental stresses.

Sunflower in Sunlight

Other Plants That Track the Sun

Sunflowers are not alone in their sun-tracking behavior. Other plants like buttercups and some species of roses also display heliotropism. However, the reasons and mechanisms may differ among species.

Buttercups

Buttercups use heliotropism to keep their flowers warm. Their petals reflect sunlight into the center of the flower, elevating the internal temperature and encouraging pollination.

Roses

Certain rose species track the sun to optimize photosynthesis. Like sunflowers, these roses adjust their growth hormones in response to sun exposure.

Conclusion

Heliotropism in sunflowers showcases nature’s ingenious design. Through a combination of hormonal regulation and cellular movement, these vibrant blooms follow the sun, ensuring they thrive. Understanding this secret not only highlights the sunflower’s beauty but also demonstrates the intricate processes plants use to adapt to their environment.

For more information about sunflowers and heliotropism, visit the following trusted resources:
National Geographic: Plants
USDA Agricultural Research Service

Categories
My Blog

How to Grow Ranunculus at Home Without Killing It

Ranunculus Flowers

Growing ranunculus at home can be a rewarding experience. These flowers are known for their vibrant colors and delicate petals. However, growing them requires attention to detail. This guide will help you grow ranunculus successfully, ensuring beautiful blooms and healthy plants.

Understanding Ranunculus

Ranunculus, also known as buttercups, are popular ornamental plants. People love them for their bright colors, which range from soft pastels to bold shades of red and orange. These flowers thrive in cool temperatures and prefer well-drained soil.

Plant Characteristics

  • Bloom Season: Spring
  • Height: 12 to 18 inches
  • Soil Requirement: Well-drained, fertile soil
  • Sun Exposure: Full to partial sunlight
  • Water Requirement: Moderate watering needs

Knowing these characteristics helps in providing the right environment for the plants.

Selecting the Right Time to Plant

Timing is crucial for planting ranunculus. These flowers prefer cool weather conditions. Plant them during the late winter or early spring. In mild climates, you can plant corms in the fall for spring blooms.

Preparing the Soil

Well-drained soil is essential for ranunculus. Here’s how to prepare it:

  • Choose a Location: Select a spot with full sun exposure.
  • Amend the Soil: Mix in organic matter, such as compost or well-rotted manure. This improves soil drainage and fertility.
  • Check the pH: Ensure the soil pH is between 6.0 and 7.0. You can test the pH using a simple soil test kit.

This preparation sets a strong foundation for healthy growth.

Planting Ranunculus Corms

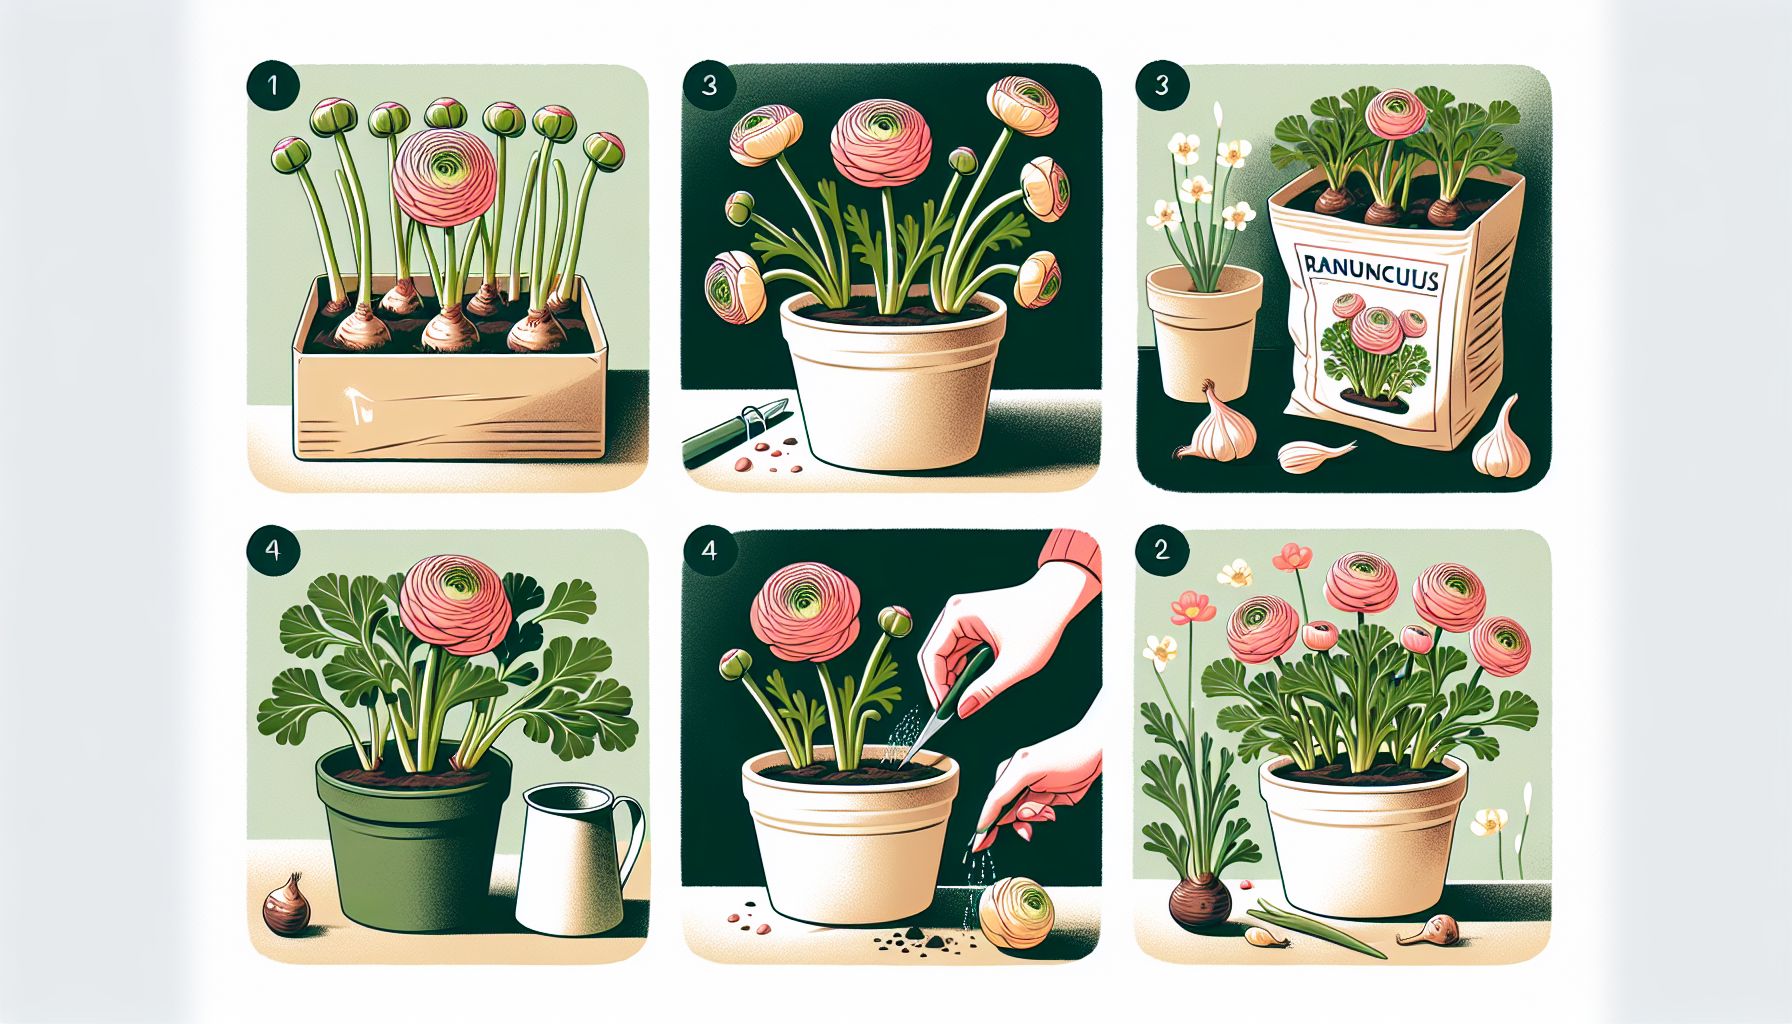
Planting ranunculus corms correctly is vital. Follow these steps:

  1. Soak Corms: Soak the corms in water for 3 to 4 hours before planting. This process wakes the corms from dormancy.
  2. Dig Holes: Space holes 4 to 6 inches apart. Each hole should be about 1 to 2 inches deep.
  3. Position Corms: Place the corm in the hole with the pointed side facing down.
  4. Cover with Soil: Fill the holes with soil and press down lightly for stability.

Planting Corms

Watering Needs

Ranunculus require moderate watering. Here is how you should water them:

  • Initial Watering: Water immediately after planting, ensuring the soil is damp but not waterlogged.
  • Regular Watering: Once they sprout, water regularly, but allow the topsoil to dry between waterings.
  • Avoid Overwatering: Overwatering can lead to root rot.

Balancing water levels is key to preventing disease and promoting growth.

Sunlight Requirements

Ranunculus thrive in full sun, but they can tolerate partial shade. Ensure they receive at least 6 to 8 hours of sunlight per day. Adequate sunlight is crucial for blooms to flourish.

Fertilization

Fertilizing ranunculus ensures they have the nutrients needed for growth.

  • Type of Fertilizer: Use a balanced liquid fertilizer or a slow-release granular type.
  • Application Frequency: Apply fertilizer every 4 to 6 weeks during the growing season.
  • Method: Follow the instructions on the fertilizer package to avoid over-fertilization.

Proper feeding encourages healthy blooms and strong plants.

Pest and Disease Control

Ranunculus can attract pests and are susceptible to diseases. Keep an eye out for:

  • Aphids and Spider Mites: These insects can damage the plant. Use insecticidal soap or neem oil to control them.
  • Fungal Diseases: Ensure proper spacing and avoid overhead watering to prevent fungal issues like powdery mildew.

Vigilance and proactive measures keep your ranunculus healthy.

Harvesting and Maintenance

Harvest ranunculus when blooms are half opened. Here are a few maintenance tips:

  • Cutting Flowers: Use sharp scissors or pruning shears. Cut stems in the morning.
  • Deadheading: Remove spent flowers regularly. This process encourages new growth.
  • Post-Bloom Care: Once blooming ends, reduce watering and allow foliage to yellow and die back. You can lift and store the corms if necessary.

Taking care of blooms preserves their beauty longer.

Storing Corms

If you need to store corms for the next season, follow these steps:

  • Dig Up Corms: Carefully lift corms once the foliage has died.
  • Clean and Dry: Remove excess soil and allow corms to dry for a few days.
  • Store Properly: Place in a dry, cool location, preferably in a paper bag or mesh sack.

Correct storage ensures corms are ready for re-planting.

Additional Resources

For further reading on growing ranunculus, visit Garden Design and the Farmer’s Almanac.

Cultivating ranunculus at home is possible with careful attention to their needs. By providing the right environment and consistent care, you can enjoy a spectacular display of colors in your garden. Happy gardening!

Categories
My Blog

Starting a Wildflower Meadow – Quick Guide

Thinking about starting a wildflower meadow?
Here’s the real deal so you don’t waste a season guessing.

1. Choose the right spot
Wildflowers love sun. Aim for at least 6 hours a day. Shade equals disappointment.

2. Strip away the competition
Grass and weeds will choke everything out. Remove the top layer, solarize it, or use a non-persistent herbicide. A clean seedbed gives you a massively better first year.

3. Use a proper wildflower blend
Don’t cheap out with “mixed meadow” packets. Look for a blend with native perennials plus some annuals for first-year color.

4. Seed at the right rate
Too heavy and the plants fight each other. Too light and it looks patchy. Usually 3 to 5 grams per square meter depending on the mix.

5. Press, don’t bury
Wildflower seeds need contact with soil, not depth. Broadcast evenly, then use a roller or lightly walk it in.

6. Water… but not like a garden
You’re not growing tomatoes. Keep it moist for the first 2 to 4 weeks, then let nature take over.

7. Be patient
Year 1: mostly green, plus some annual blooms.
Year 2: more structure, stronger perennials.
Year 3: full, established meadow. Don’t judge it too early.

8. Maintenance is minimal, not zero
Cut it down once a year in fall or early spring. Remove invasives when they sneak in.

If you want a low-maintenance, pollinator-friendly space that looks incredible every summer, a wildflower meadow is hard to beat.